# 1. Setting up Development
# Objective
In this section we will be creating the development environment and setting up ASP.NET 6 as Orchard Core host project. We'll be also setting up the default tenant using the Blog recipe.
At the end of this section the project directory structure look as follow
cookbook (workspaceroot)
└───.vscode
│   │   launch.json
│   │   task.json
└───cookbook.web
    │   cookbook.web.csproj
    │   ...
    │   ...
    │   Program.cs
2
3
4
5
6
7
8
9
# Install code generation templates
If you have not already, then install latest Orchard Core code generation templates by running following command.
dotnet new -i OrchardCore.ProjectTemplates::1.4.0
# Create Orchard Core CMS host project
Using code generation template, create Orchard Core CMS Web App. Use the following command to create a new Orchard Core CMS host project. Using the command line, change current directory to where you want to create your project files. For the sake of this tutorial we'll use workspaceFolder to refer to the path of the project. In example below, our workspaceFolder is cookbook
dotnet new occms -o cookbook.web

# Setup vscode
In your workspaceFolder create a directory .vscode and create following two files under .vscode
Here for our cookbook example, we'll be using Visual Studio Code as our development editor. However You can use editor/tooling of your choice.
- task.json
- launch.json
# task.json
Add following content to task.json
{
    "version": "2.0.0",
    "tasks": [
        {
            "label": "build",
            "command": "dotnet",
            "type": "process",
            "args": [
                "build",
                "${workspaceFolder}/cookbook.web/cookbook.web.csproj",
                "/property:GenerateFullPaths=true",
                "/consoleloggerparameters:NoSummary"
            ],
            "problemMatcher": "$msCompile"
        },
        {
            "label": "publish",
            "command": "dotnet",
            "type": "process",
            "args": [
                "publish",
                "${workspaceFolder}/cookbook.web/cookbook.web.csproj",
                "/property:GenerateFullPaths=true",
                "/consoleloggerparameters:NoSummary"
            ],
            "problemMatcher": "$msCompile"
        },
        {
            "label": "watch",
            "command": "dotnet",
            "type": "process",
            "args": [
                "watch",
                "run",
                "--project",
                "${workspaceFolder}/cookbook.web/cookbook.web.csproj"
            ],
            "problemMatcher": "$msCompile"
        }
    ]
}
2
3
4
5
6
7
8
9
10
11
12
13
14
15
16
17
18
19
20
21
22
23
24
25
26
27
28
29
30
31
32
33
34
35
36
37
38
39
40
41
# launch.json
Add following content to launch.json
{
    // Use IntelliSense to learn about possible attributes.
    // Hover to view descriptions of existing attributes.
    // For more information, visit: https://go.microsoft.com/fwlink/?linkid=830387
    "version": "0.2.0",
    "configurations": [
        {
            // Use IntelliSense to find out which attributes exist for C# debugging
            // Use hover for the description of the existing attributes
            // For further information visit https://github.com/OmniSharp/omnisharp-vscode/blob/master/debugger-launchjson.md
            "name": ".NET Core Launch (web)",
            "type": "coreclr",
            "request": "launch",
            "preLaunchTask": "build",
            // If you have changed target frameworks, make sure to update the program path.
            "program": "${workspaceFolder}/cookbook.web/bin/Debug/net6.0/cookbook.web.dll",
            "args": [],
            "cwd": "${workspaceFolder}/cookbook.web",
            "stopAtEntry": false,
            // Enable launching a web browser when ASP.NET Core starts. For more information: https://aka.ms/VSCode-CS-LaunchJson-WebBrowser
            "serverReadyAction": {
                "action": "openExternally",
                "pattern": "\\bNow listening on:\\s+(https?://\\S+)"
            },
            "env": {
                "ASPNETCORE_ENVIRONMENT": "Development"
            },
            "sourceFileMap": {
                "/Views": "${workspaceFolder}/cookbook.web/Views"
            }
        },
        {
            "name": ".NET Core Attach",
            "type": "coreclr",
            "request": "attach"
        }
    ]
}
2
3
4
5
6
7
8
9
10
11
12
13
14
15
16
17
18
19
20
21
22
23
24
25
26
27
28
29
30
31
32
33
34
35
36
37
38
# Run and setup the Default Tenant
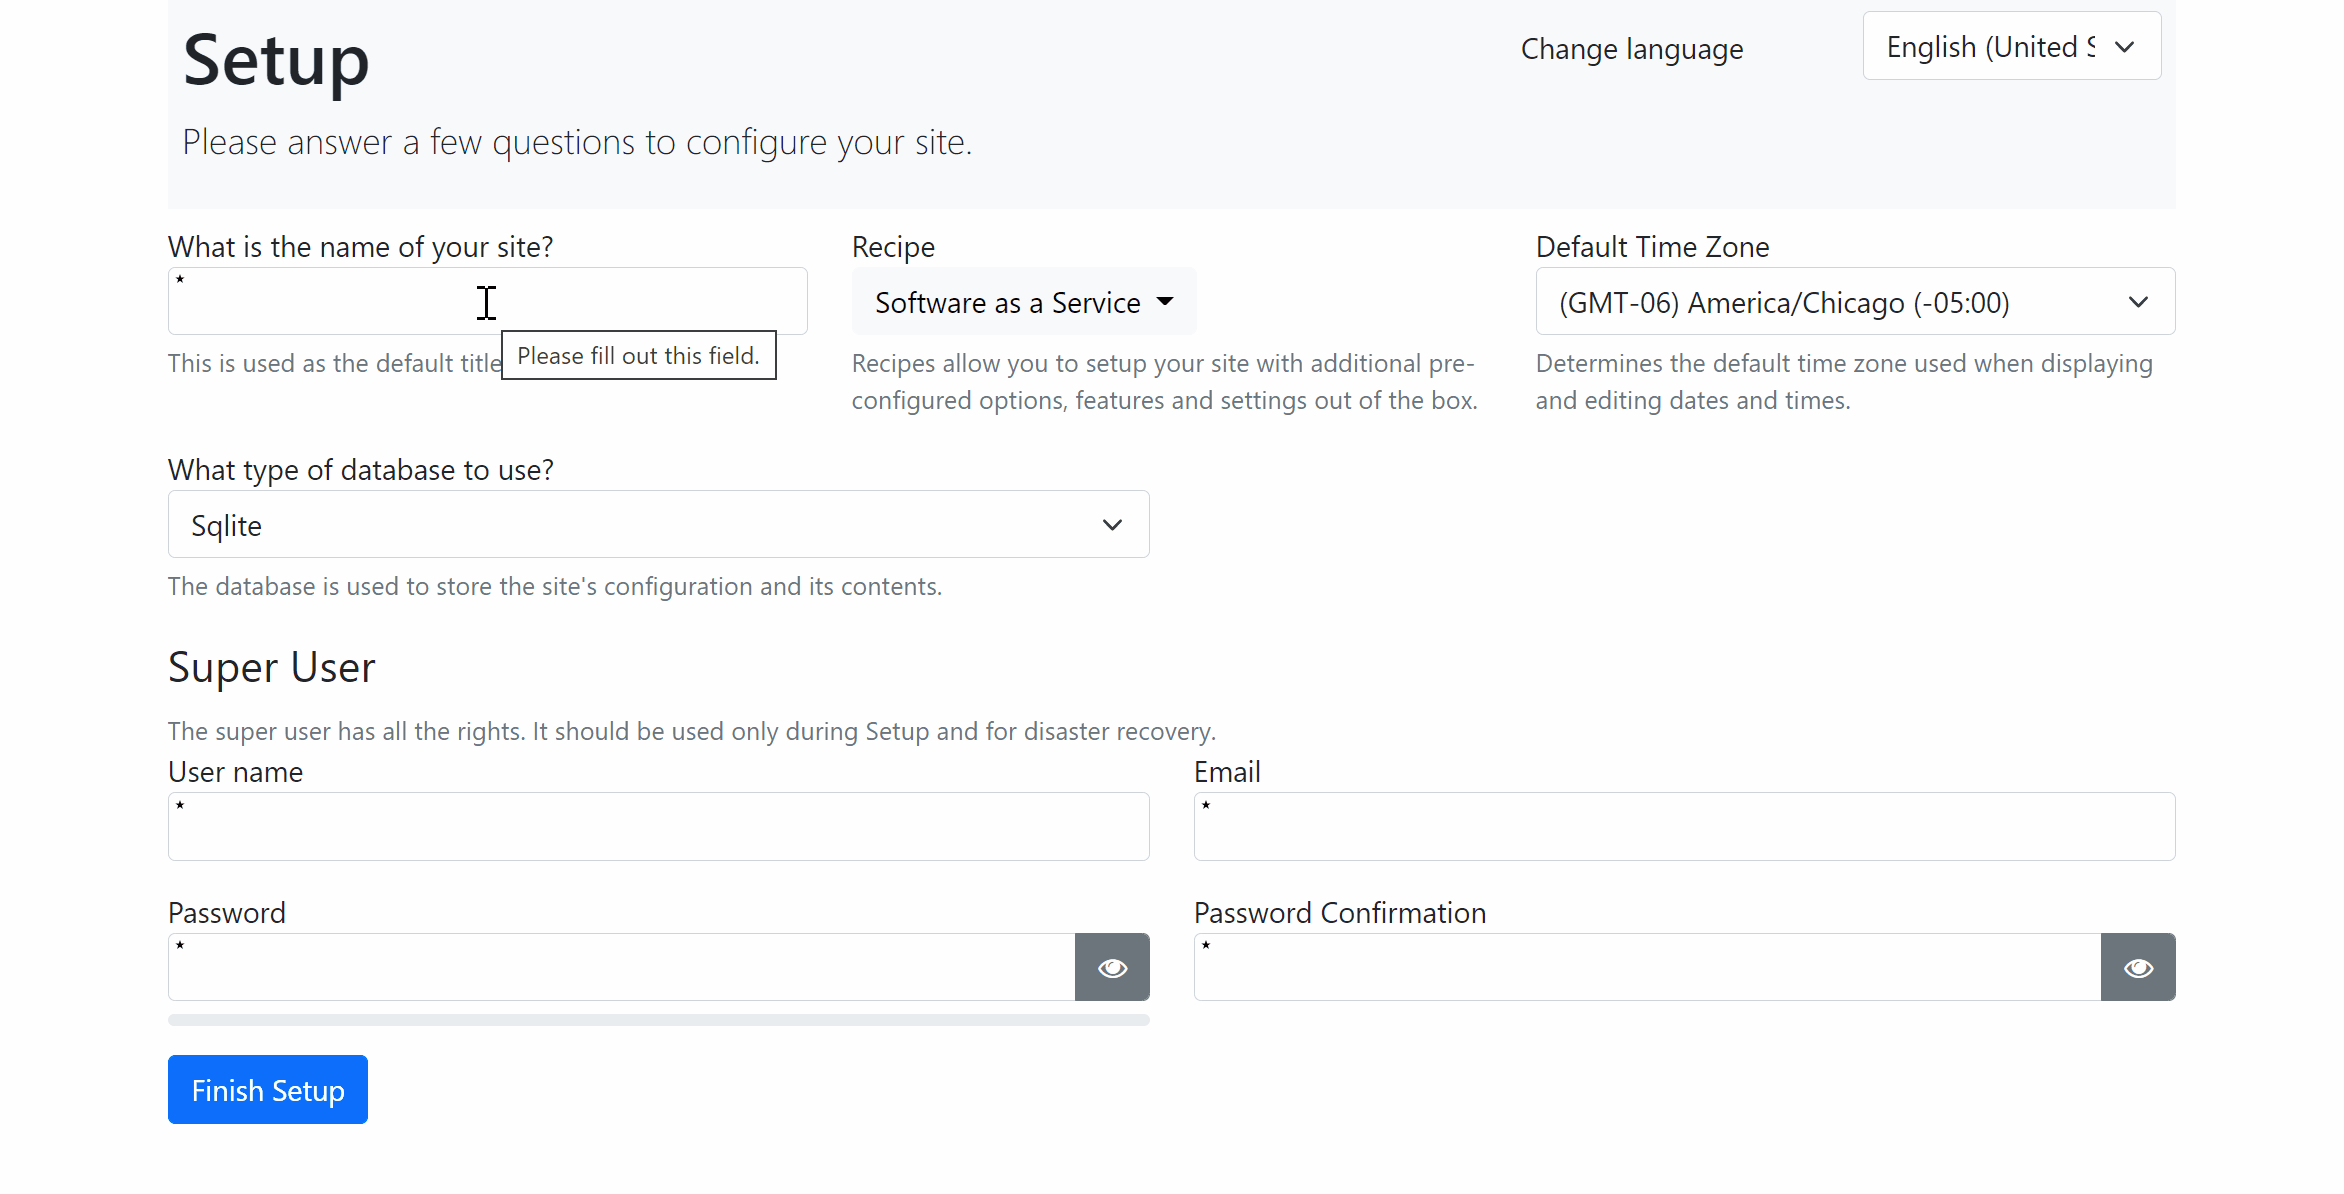
Click on Run > Start Debugging to run and setup your Default tenant.

If you are not using vscode, you can also run the project using .NET CLI dotnet run command.
This will launch a default browser window and will navigate to https://localhost:5001. If it doesn't open the browser window automatically, then you can also open your browser and manually navigate to https://localhost:5001 while the project is running.
It will display the setup screen as below. Here, enter all the required fields. For this example we will select the Blog recipe.
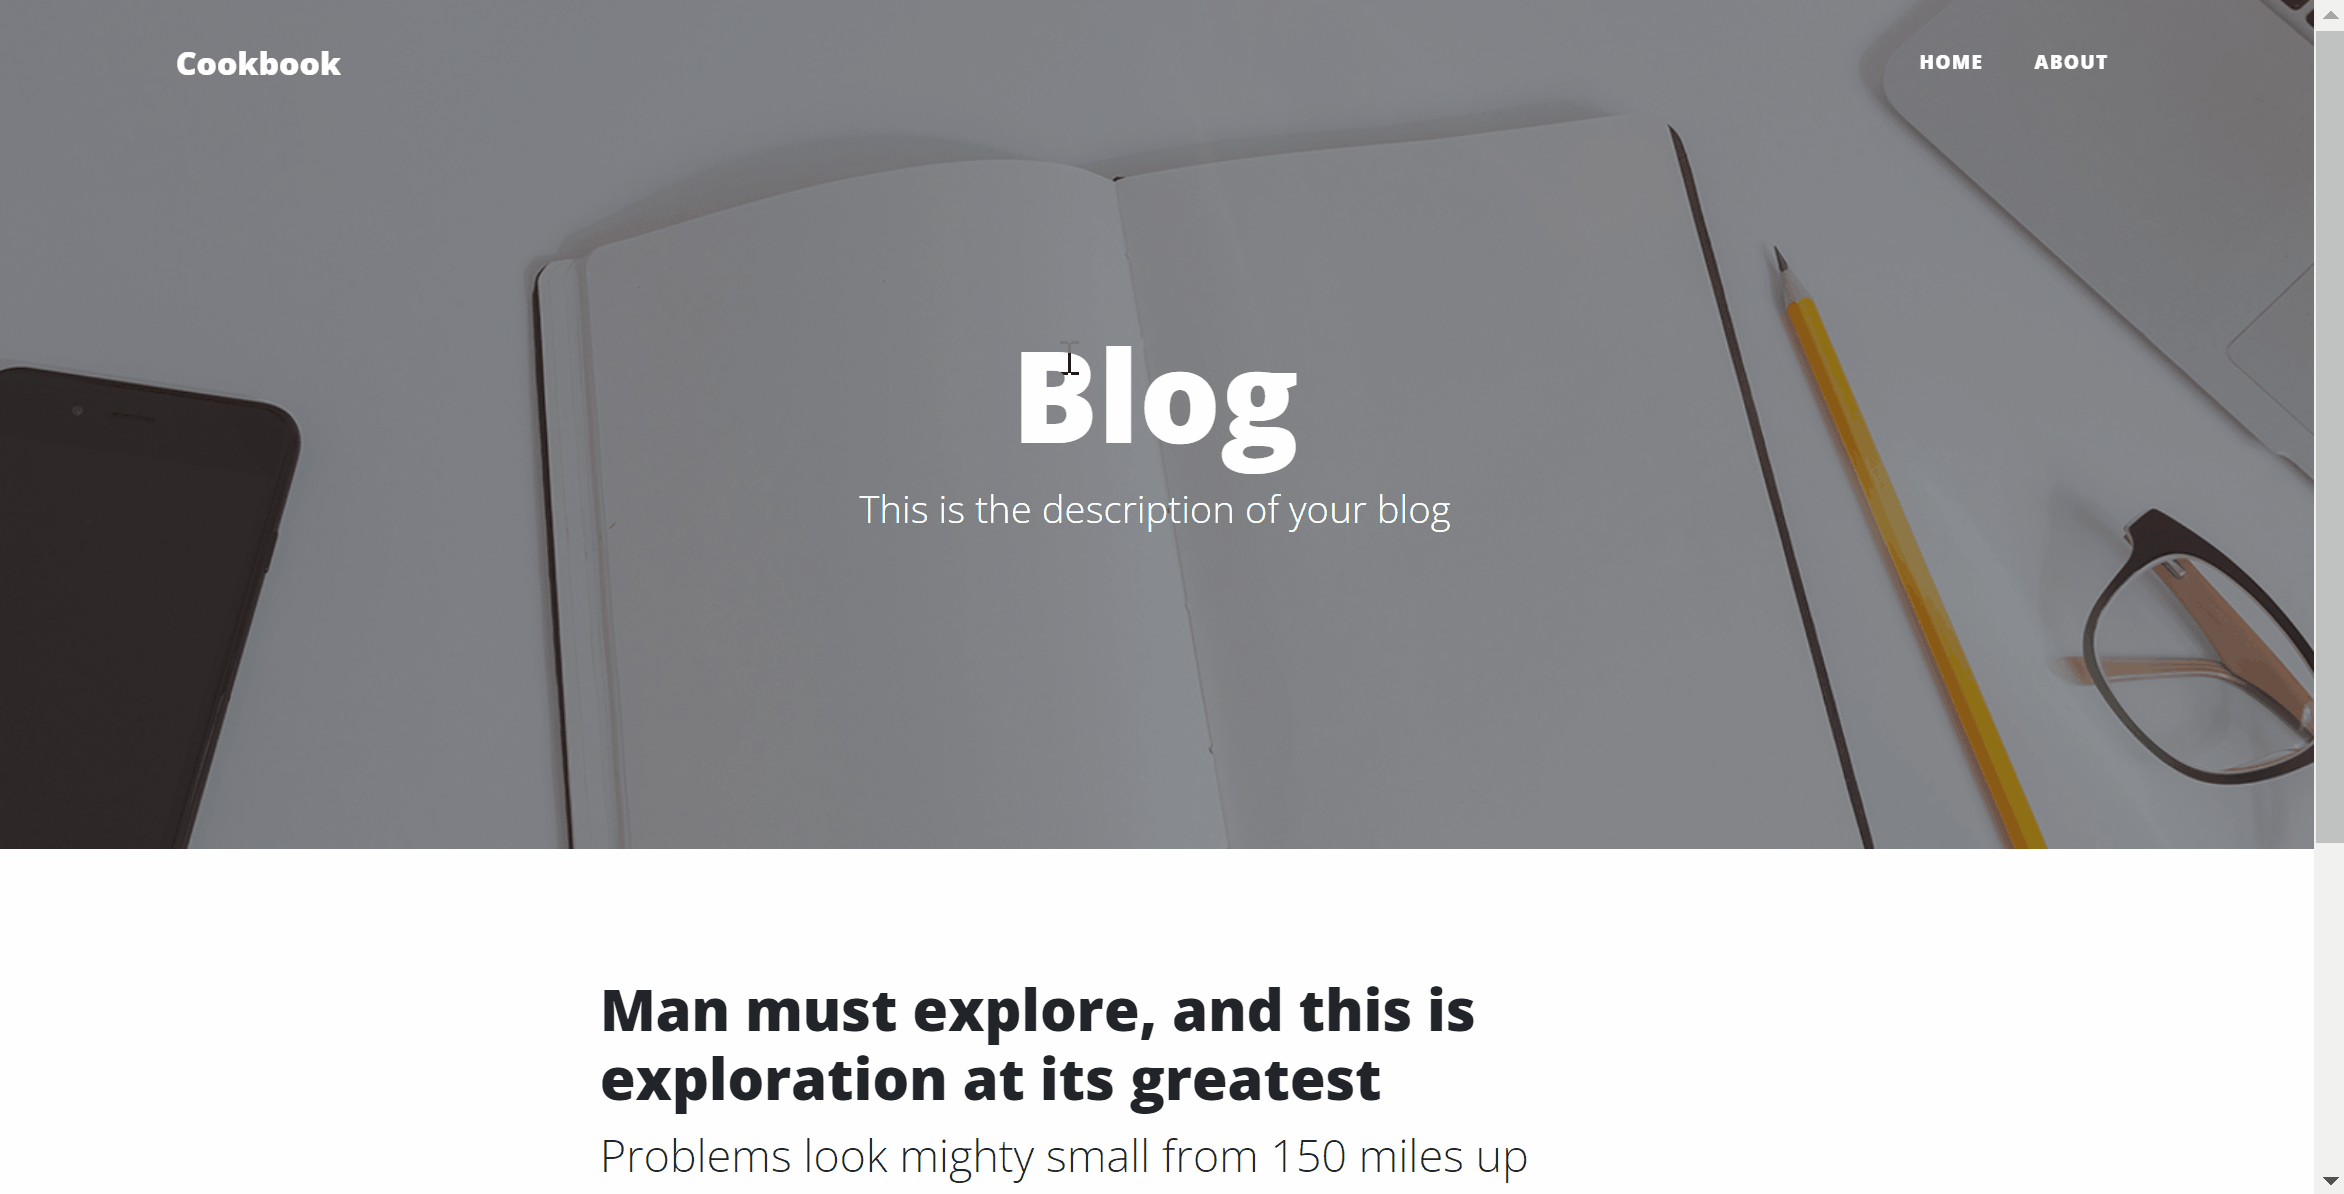
Once setup is complete, It will redirect to home page of the Blog site as you below. Login as administrator into admin dashboard and verify everything is working.
Congratulations! You have completed setting up the development environment. Continue on next section to Add License Management.