# 3. Configure Payments
# Objective
In this section we will be installing and configuring the Payment Module and enable the Payments feature.
Note, all of Surevelox OrchardCore Modules are dependent on Licensing module and requires that License Management feature is enabled. If you have not already configured Licensing, follow Add License Management section.
At the end of this section, you will be adding the Payment module to your Orchard project and enabling the Payments feature. Finally, you will be able to configure your Stripe (opens new window) settings for Test and Production.
# Install Payment
From workspaceroot navigate to cookbook.web. Using the ".net cli", add nuget package reference for Payment module.
Run following command to add latest version of the Payment Module.
cd cookbook.web
dotnet add package Surevelox.OrchardCore.Payment
2
This will add the package reference to cookbook.web.csproj
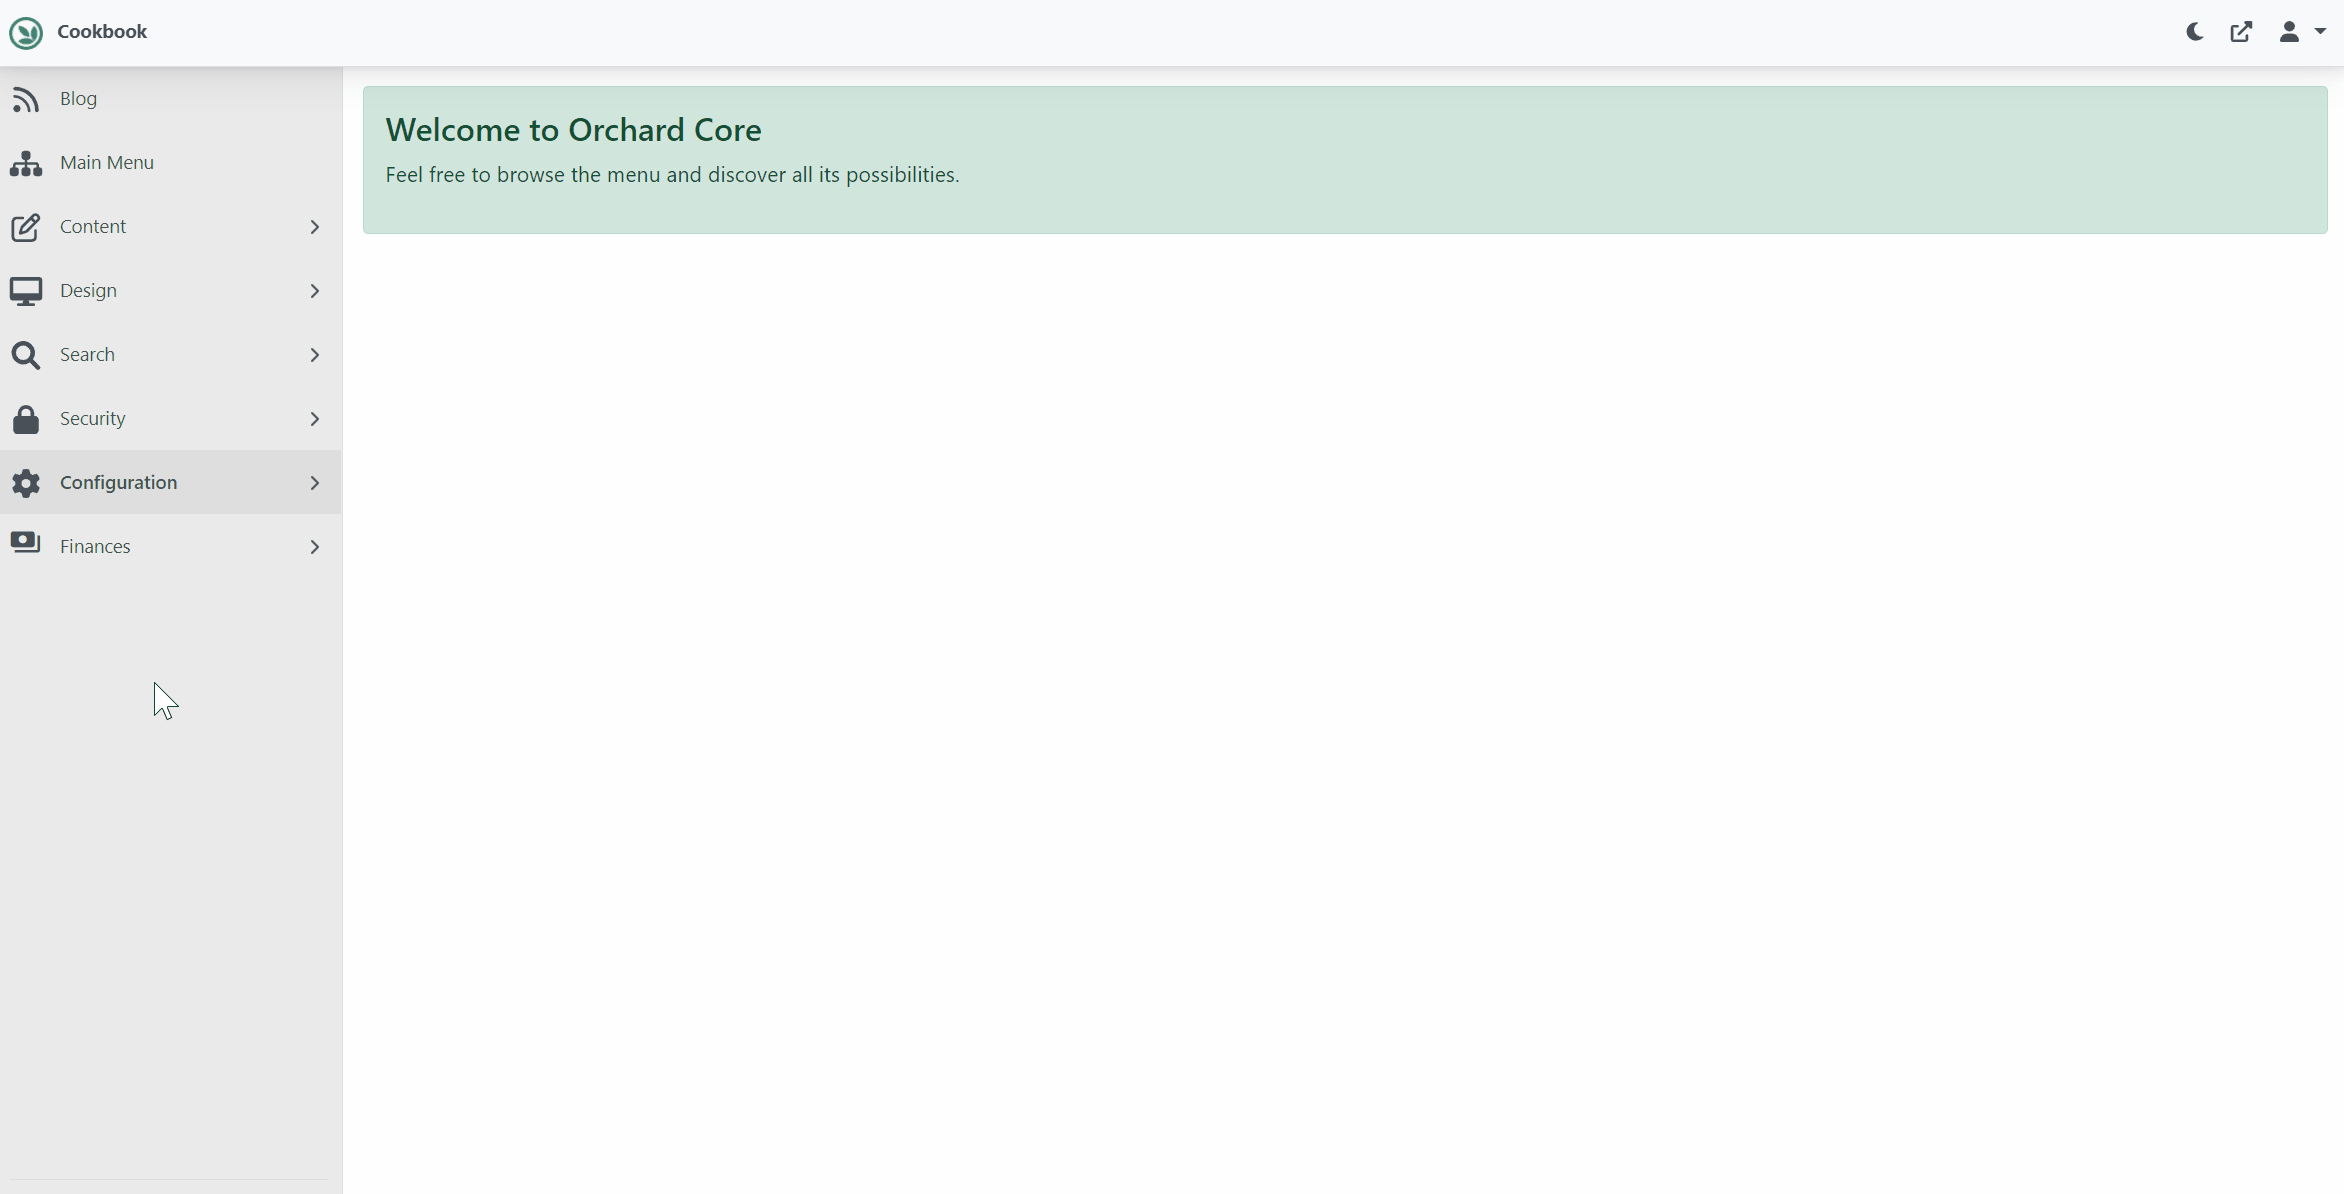
# Enable Payments
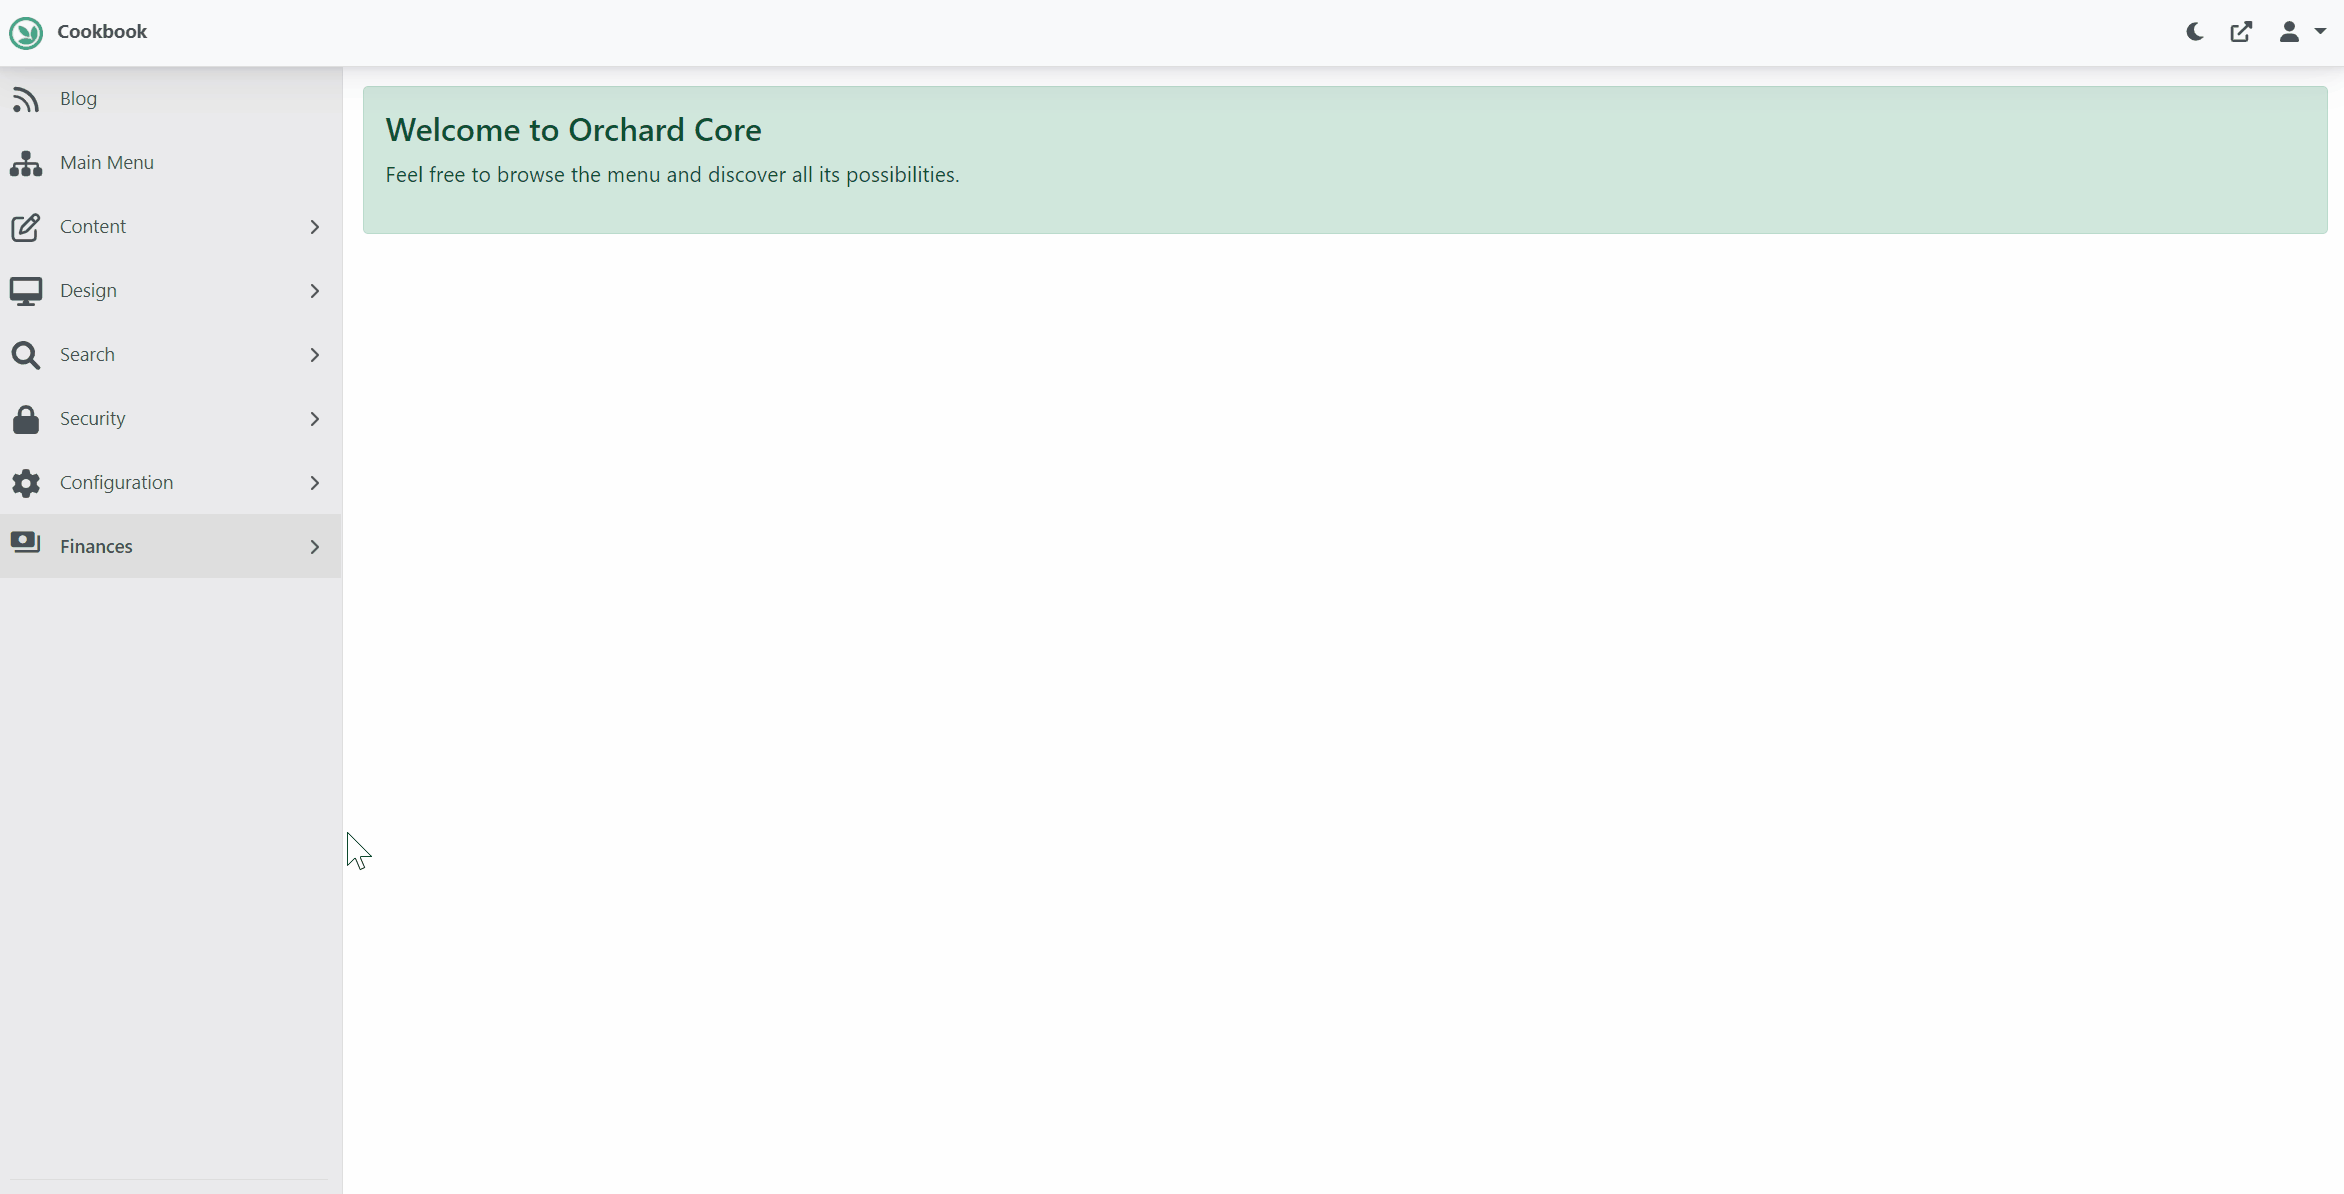
Run the cookbook.web application. While Logged in as administrator, go to the admin dashboard. Using the navigate menu go to Configuration > Features. In the search box, type "payment". Next to the Payments feature, click on Enable button to enable the feature.
Once enabled, you will see new menu named Finances. It will also add evaluation license in License Manager for the Payments feature. Verify that evaluation license is added and it is validated and not expired.
To configure Stripe integration, from the menu navigate to Finances > Payment Providers > Stripe. Here, provide your Stripe keys.
TIP
To get keys from Stripe (opens new window), Login into stripe dashboard and enable test mode.
- Go to
Developers > API Keyand take Token forPublishable keyandSecret key. - Go to
Developers > Webhooksand Click buttonTest in Local Environmentand follow instruction to get Webhooks'endpointSecret.
Congratulations! You have completed Configuring Payments.
What's Next
- Go to next section Design Plan and Recipes. OR
- Read more about Payment